[Get the best value custom 10×10 tent on Amazon today!]
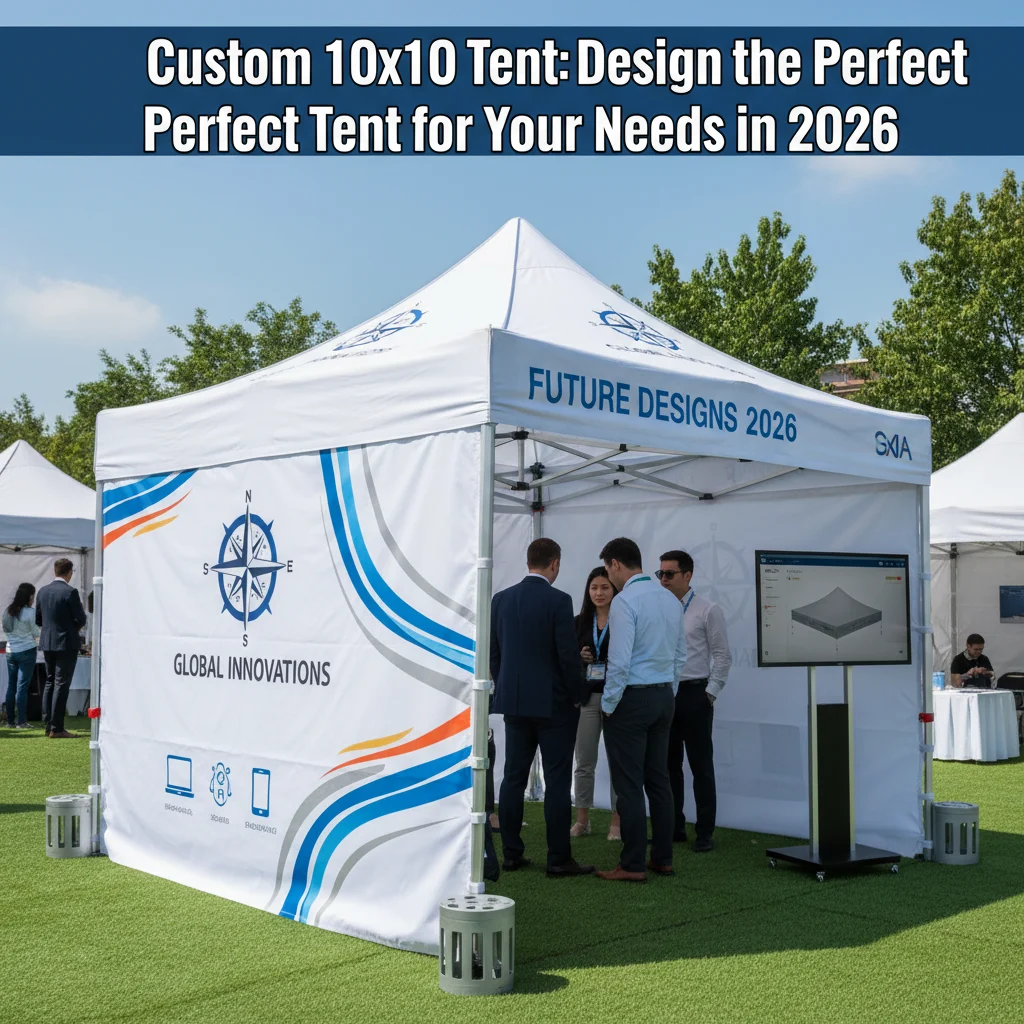
# Custom 10×10 Tent: Design the Perfect Tent for Your Needs in 2026
Planning an outdoor event, running a market stall, or simply need a reliable shelter? A custom 10×10 tent might just be the perfect solution. Forget those generic, off-the-shelf options. In this guide, we’ll show you how to design the *perfect* custom 10×10 tent tailored to your exact needs in 2026.
[Browse top-rated custom 10×10 tent on Amazon]
## Why a Custom 10×10 Tent?
Generic tents are… well, generic. They might get the job done, but they lack personality and often don’t quite fit your specific requirements. A custom 10×10 tent, on the other hand, offers a multitude of advantages:
* **Branding Opportunity:** Showcase your logo, brand colors, and messaging. A professionally designed tent instantly elevates your presence and attracts attention.
* **Personalized Functionality:** Choose the features that matter most to *you*. Need extra ventilation? Specific storage pockets? The options are limitless.
* **Superior Quality:** Custom tents often use higher-quality materials and construction, ensuring durability and longevity.
* **Perfect Fit:** Ensure your tent perfectly matches your event, space, and overall aesthetic.
[Browse top-rated custom 10×10 tent on Amazon]
## Step-by-Step Guide to Designing Your Dream Custom 10×10 Tent
Here’s a comprehensive, step-by-step guide to designing a custom 10×10 tent that will turn heads and meet your every need:
### Step 1: Define Your Purpose and Needs
Before diving into design options, take a step back and clearly define the primary purpose of your tent. Ask yourself:
* **What will the tent be used for?** (e.g., trade shows, farmers markets, camping, backyard parties)
* **What are the environmental conditions?** (e.g., sunny, rainy, windy)
* **How often will it be used?** (e.g., weekly, monthly, annually)
* **What specific features are essential?** (e.g., sidewalls, windows, doors, ventilation, storage)
* **What is your budget?** (This will significantly influence material and feature choices)
Understanding your needs is the foundation of a successful custom tent design.
### Step 2: Choose Your Tent Frame
The tent frame is the backbone of your structure. Here are the most common options:
* **Steel Frame:** Durable, affordable, and suitable for general use. Steel frames are heavier but offer excellent stability, especially in windy conditions. Look for powder-coated steel to resist rust.
* **Aluminum Frame:** Lightweight, rust-resistant, and ideal for frequent transport. Aluminum frames are typically more expensive than steel but offer superior portability.
* **Commercial-Grade Frame:** Heavy-duty frames designed for frequent use and harsh conditions. These frames are built to last and withstand significant wear and tear.
Consider the frequency of use and environmental conditions when selecting your frame. If you plan to use your tent frequently or in challenging weather, investing in a commercial-grade frame is highly recommended.
### Step 3: Select Your Canopy Fabric
The canopy fabric is what protects you and your belongings from the elements. Common options include:
* **Polyester:** Affordable, lightweight, and water-resistant. Polyester is a good choice for general use in mild weather. Look for fabrics with a higher denier (e.g., 600D) for increased durability.
* **Oxford Cloth:** A step up from polyester, oxford cloth is more durable and water-resistant. It offers a good balance of performance and affordability.
* **PVC-Coated Polyester:** Provides excellent water resistance and UV protection. PVC-coated polyester is a good choice for events where weather conditions are unpredictable.
* **Vinyl:** The most durable and waterproof option, vinyl is ideal for heavy-duty use in harsh weather. Vinyl canopies are typically more expensive and heavier than other options.
Consider the level of water resistance, UV protection, and durability you need when selecting your canopy fabric.
### Step 4: Design Your Graphics and Branding
This is where your custom tent truly comes to life. Work with a graphic designer or use online design tools to create eye-catching graphics that showcase your brand.
* **Logo Placement:** Prominently display your logo on the canopy and sidewalls.
* **Brand Colors:** Use your brand colors consistently throughout the design.
* **Messaging:** Include a brief tagline or key message to communicate your brand’s value proposition.
* **Imagery:** Use high-quality images that are relevant to your brand and target audience.
Ensure your graphics are high-resolution and professionally designed to create a polished and impactful impression.
### Step 5: Choose Your Accessories and Features
Enhance the functionality and comfort of your tent with a variety of accessories and features:
* **Sidewalls:** Provide privacy, protection from the elements, and additional branding opportunities. Choose solid sidewalls, sidewalls with windows, or mesh sidewalls for ventilation.
* **Doors:** Add a convenient entrance and exit point. Roll-up doors and zippered doors are popular options.
* **Windows:** Allow natural light to enter the tent while providing visibility to the outside.
* **Ventilation:** Ensure proper airflow to prevent overheating and condensation. Vents can be added to the canopy or sidewalls.
* **Lighting:** Add interior lighting to create a welcoming and functional space, especially for evening events.
* **Weight Bags/Sandbags:** Secure your tent in windy conditions.
* **Storage Bags:** Protect and transport your tent easily.
Consider the specific needs of your event and choose accessories that will enhance the overall experience.
### Step 6: Find a Reputable Manufacturer
Research and select a reputable manufacturer that specializes in custom 10×10 tents. Look for manufacturers with:
* **Experience:** A proven track record of producing high-quality tents.
* **Customization Options:** A wide range of customization options to meet your specific needs.
* **Material Quality:** Use of durable, high-quality materials.
* **Printing Capabilities:** High-resolution printing capabilities for vibrant graphics.
* **Customer Service:** Responsive and helpful customer service.
* **Warranty:** A warranty that covers defects in materials and workmanship.
Request quotes from multiple manufacturers and compare pricing, features, and lead times.
### Step 7: Review and Approve Your Design
Before production begins, carefully review and approve your design proofs. Ensure that all graphics, colors, and specifications are accurate. Pay close attention to:
* **Logo Placement and Size:** Verify that your logo is positioned correctly and is the appropriate size.
* **Color Accuracy:** Confirm that the colors match your brand guidelines.
* **Spelling and Grammar:** Double-check all text for errors.
* **Overall Layout:** Ensure the overall design is visually appealing and effectively communicates your message.
Once you are satisfied with the design, provide your final approval to the manufacturer.
### Step 8: Production and Delivery
The manufacturer will then begin production of your custom 10×10 tent. Production times vary depending on the manufacturer and the complexity of the design. Once the tent is complete, it will be shipped to your specified address.
### Step 9: Setup and Maintenance
Follow the manufacturer’s instructions for setting up your tent. Proper setup is essential for ensuring stability and longevity. After each use, clean and dry your tent thoroughly before storing it. Store your tent in a cool, dry place to prevent mildew and damage.
[Browse top-rated custom 10×10 tent on Amazon]
## Tools for the Job: Recommended Products for your Custom 10×10 Tent
Creating a truly custom experience often involves more than just the tent itself. Here are a few recommended products that can enhance your setup:
* **AmazonBasics Pop-Up Canopy Tent:** While this isn’t a *custom* tent, it’s a reliable and affordable base to start with. Its key feature is the easy pop-up design, making setup a breeze. This is a great option for those who want a quick and easy solution, and the frame can be used as a base for custom canopies.
* **ABCCANOPY Sandbag Weight Bags:** These weight bags are essential for securing your tent in windy conditions. Their key feature is the durable construction and easy-to-fill design. These bags will prevent your tent from blowing away and ensure the safety of your event.
These products can significantly enhance the functionality and usability of your custom 10×10 tent.
[Browse top-rated custom 10×10 tent on Amazon]
## Pro-Tips / FAQ Section
* **How do I clean my custom 10×10 tent?** Use mild soap and water to clean the canopy and frame. Avoid harsh chemicals or abrasive cleaners.
* **How do I store my custom 10×10 tent?** Store your tent in a cool, dry place to prevent mildew and damage. Ensure the canopy is completely dry before storing it.
* **How do I prevent my tent from blowing away in the wind?** Use weight bags or sandbags to secure the tent legs. Consider using guy lines for additional stability.
* **Can I use my custom 10×10 tent indoors?** Yes, you can use your tent indoors, but ensure there is adequate ventilation and clearance.
[Browse top-rated custom 10×10 tent on Amazon]
## Conclusion
Designing the perfect custom 10×10 tent for your needs in 2026 is an achievable goal. By following these steps, you can create a tent that is not only functional and durable
[Check the latest prices and deals for custom 10×10 tent on Amazon today!]